
In my last posts I wrote about Nomad as my ideal container orchestration home-server. Specifically about how to install it, and how to create and run a job. For my next post, I will dive into the application that I use to do all my integration. But for that I have to talk a bit more about my setup first.
The main component my home-server runs is Home Assistant, for those who don’t know what it is, here is a link: (https://www.home-assistant.io/).
In short, Home Assistant is a great home automation server, with an active community that keeps on adding new functionality. It integrates with loads of devices, ubiquity, androidTV, tado, air conditioners, and if it is not in Home Assistant you can easily add your own component. End sales pitch.
The one thing it sucks at, is creating scenarios / automations. Let’s say you come home at night and want HA to turn on your lights automatically. With presence detection you can easily detect the fact that you just came home. If you have something like Hue you can easily turn on the lights with HA. However not all is great in HA, creating the automation for it, is, in my humble opinion, a bit tricky. You can do it in the frontend but it is limited.
NodeRed
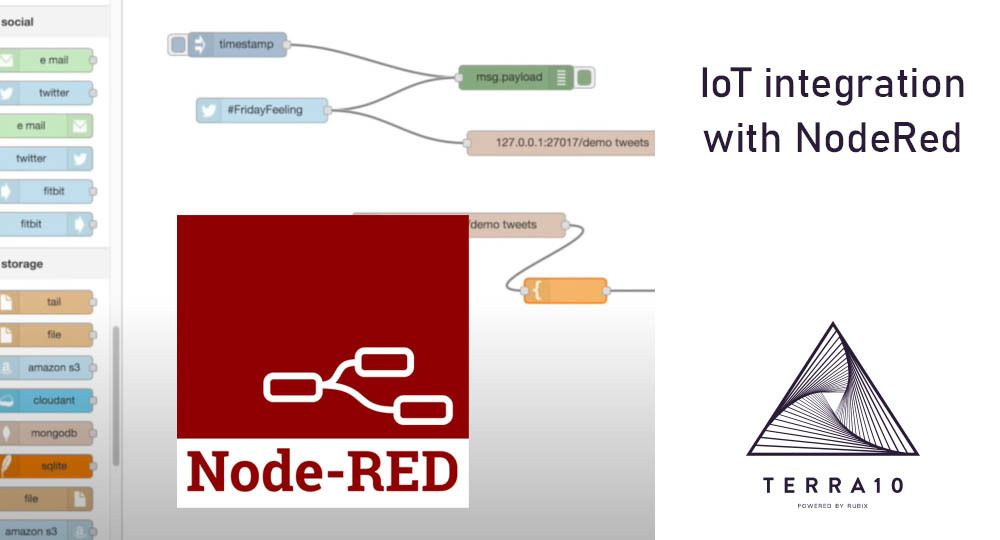
Enter NodeRed (https://nodered.org/). NodeRed is a low code integration platform that runs on node.js. With a browser based drag ‘n drop tool you can easily create complex flows. Exactly what I need for my home automation. And the best part: it has a plugin (palette) for HA. This means that with a few clicks and some configuration I can use NodeRed for all my scenarios and automations!
In this post, I will show you how to install NodeRed (in Nomad of course) and connect it to an HA server, and to top it off I will show you how to make a simple integration.
As mentioned, NodeRed is a node.js based integration server, this means that it can run on any device that can run node. Installing it is just as easy as installing any node based application. Because of this and because it is a lightweight application, you can also install it on IoT (edge) devices. This makes it an ideal candidate for integration on edge components.

Installing
To install it locally, just run:
sudo npm install -g --unsafe-perm node-redStarting it is just one single command:
node-red

Welcome to Node-RED
===================

11 Oct 23:43:39 - [info] Node-RED version: v1.0.2
11 Oct 23:43:39 - [info] Node.js  version: v10.16.3
11 Oct 23:43:39 - [info] Darwin 18.7.0 x64 LE
11 Oct 23:43:39 - [info] Loading palette nodes
11 Oct 23:43:44 - [warn] rpi-gpio : Raspberry Pi specific node set inactive
11 Oct 23:43:44 - [info] Settings file  : /Users/nol/.node-red/settings.js
11 Oct 23:43:44 - [info] HTTP Static    : /Users/nol/node-red/web
11 Oct 23:43:44 - [info] Context store  : 'default' [module=localfilesystem]
11 Oct 23:43:44 - [info] User directory : /Users/nol/.node-red
11 Oct 23:43:44 - [warn] Projects disabled : set editorTheme.projects.enabled=true to enable
11 Oct 23:43:44 - [info] Creating new flows file : flows_noltop.json
11 Oct 23:43:44 - [info] Starting flows
11 Oct 23:43:44 - [info] Started flows
11 Oct 23:43:44 - [info] Server now running at http://127.0.0.1:1880/red/
That is it, you got your server running. Now because this post is part of a series of using Nomad as a Home Server I post the HCL file that I created as well.
job "node-red-server" {
  datacenters = ["home-server"]  group "home-automation" {
    task "node-red-server" {
      driver = "docker"
      config {
        image = "nodered/node-red:latest"

        volumes = [
                "/home/janssendj/projecten/node-red/data/:/data/"
        ]
      }
      env {
        TZ = "Europe/Amsterdam"
      }
      resources {
        network {
          mbits = 100
          port "http" {
            static = "1880"
          }
        }
      }
    }
  }
}
You can access your node red server on:

Ok, now that we have a running server we can add HA to the palette of options. In the top right corner click the options menu (the hamburger thingy), select ‘manage palette’ and in the install tab search for home assistant.

Click on the install button on the websocket version that has been updated quite recently. Sit back and wait a few seconds for the installation to be completed and you are good to go.

The only thing left is to connect NodeRed to HA. The easiest way is to drop an HA node on the canvas (see image below) and double click it, edit the server and configure it according to the image above. For more information, see the documentation provided by the node help (left side of the image). You will notice those kinds of documentation / help pages by a lot of nodes. This makes it a lot easier to develop a nice flow.
Creating a flow

Now the actual fun starts, we can create a flow that has direct impact in your house. Let’s say somebody comes home and you want the light by the back door to go on automatically.
I already have my HA configured so that it knows when somebody comes home, so I can use that information in NodeRed. As you can see in the picture, I have two events:state items that detect the state (home, not_home) change of a person. Simply drag the “events: state” item on the canvas and double click it. Set it to the person you want to “watch” and optionally add a state to watch for, in my case “home”. With the “current state” I can get the state of the sun (ea above, below horizon etc.) with this you can determine if it is “dark”. If it is dark, two things happen in this flow. First, the light is turned on and then with a delay of 5 minutes (no reason to keep the light on forever) the light is turned off again.
The last thing we need to do is deploy the flow. This can be done by clicking the big red deploy button on the right side of your screen. That’s it!
Now I have shown how to create a simple flow with multiple starting points (me or my wife coming home), a form of parallel processing, the delay, and turning the light on. NodeRed also offers additional features like conditional switches, splitting, batch etc. If you need a form of logic that is not included by default there is a big change somebody already created a node for it. For example, I needed a way to determine if a timestamp was within a certain time period. After some searching I found a node “Time Range Switch” that did just that. With a few clicks it was installed and ready to be used. You can look for custom nodes, example flows, or a complete collection of flows go to: https://flows.nodered.org/
Conclusion
In this post I have shown you that NodeRed is a simple lightweight integration server that can be used to create powerful flows. As an integration consultant I have seen a lot of different tools that offer this functionality however NodeRed at the moment is my favorite for my Home Integration. Simply because of the abundance of integration possibilities and the community behind it.