
Since Weblogic 12.1.2 it is possible to use WebSockets in your web applications. I thought I would give this a try. In my case I am using Weblogic 12.1.3.
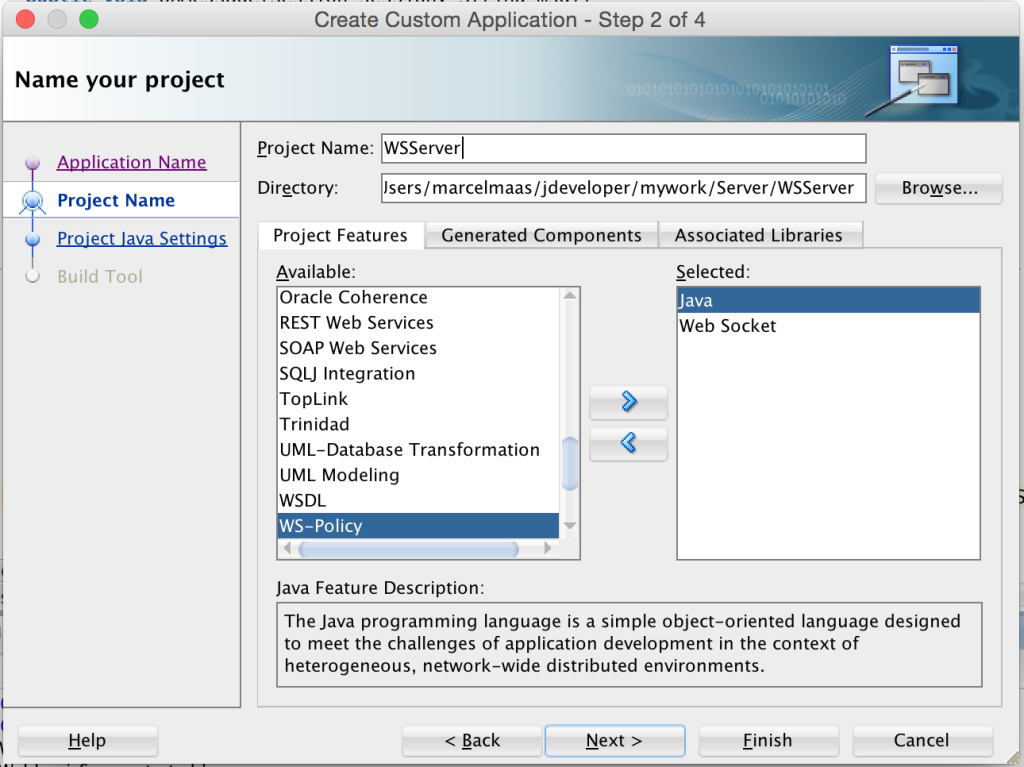
In this case I am using vanilla java 7 to create a server application with JDeveloper. Use the gallery to create a new custom application. When asked, create a project with Web Socket technology.

After setting my default package I choose the defaults and finish creating the project. Now add a simple java class. I conveniently called it “ChatEndpoint”. Add the annotation “ServerEndpoint” which will define the url of your websocket connection. This will become a combination with the context root of the web application. More on this later.
JDeveloper will display an error on the “ServerEndpoint”. When hovering over this error JDeveloper will tell you the project is not correctly configured. Let JDeveloper fix this by clicking on the “Configure project for Web Socket” link. Import the annotation as well.


As you can see the project has now been correctly configured as a WebSocket project. JDeveloper has added a web.xml and designated the “ChatEndpoint” as a service.
Now we need to implement the necessary methods to connect and disconnect a client as well as the handling of actual chatmessages.
First we add the method which will accept incoming client connections. We want to be able to confirm the connection to the client so we will send a message to the client when the connection has been made.
    @OnOpen
    public void onOpen(Session session, EndpointConfig conf){
        try {
            session.getBasicRemote().sendText("connection accepted");
            System.out.println("Currently connected clients: " + session.getOpenSessions().size());
        } catch (IOException e){
            e.printStackTrace();
        }
    }
Now the real magic is of course when we want to relay the message to all clients. Consider the following piece of code.
    @OnMessage
    public void onMessage(Session session, String msg){
        try {
            for  (Session sess : session.getOpenSessions()){
                if (sess.isOpen()){
                    sess.getBasicRemote().sendText(msg);
                }
            }
        } catch (IOException e){
            e.printStackTrace();
        }
    }
As you can see this is a really easy piece of code. The onMessage method gets called when a client sends a message to the endpoint. The session object has a way to retrieve all currently connected clients. So we use this to get all the clients and send the message we just received to all clients.
Finally we need some code to handle the closing of connections.
    @OnClose
    public void onClose(Session session, CloseReason reason) {
        try {
            System.out.println("Connection closed, remaining connections: " + session.getOpenSessions().size());
            session.getBasicRemote().sendText("Connection closed");
            session.close();
        } catch (IOException e) {
            e.printStackTrace();
        }
    }
Wow, that was really easy. The last thing to do here is of course to deploy to the server. Therefore we need to create a deployment profile. To do so right click on the “WSServer” project and choose “Deploy” -> “New deployment profile”. Select “War file” and give it a decent name.

Now the only thing to take notice of right now is the “Web application context root”. By default JDeveloper makes one up for you which is utterly user unfriendly. I usually specify my own here.

To get your websocket connection url you must append this context root to your specified endpoint. In our case this will become something like:
ws://localhost:7101/chat/server
Thats it. You can now rightclick the project and deploy to the integrated weblogic server to test your WebSocket chat server. Of course we need a client for this. In the next post we will create a chat client using AngularJS.
See you next time.
Oh, and of course the JDeveloper Project